
Exactly how to Establish a New WooCommerce Shop|Fresno | Fresno eCommerce
There are a variety of things entrepreneurs need to consider when starting an online store. Some of them — like developing products and figuring out a marketing plan — can be time-consuming and challenging. But WooCommerce ensures that adding eCommerce functionality to your WordPress site isn’t.
We’re going to show you everything you need to get your store up and running with WooCommerce. If you’re starting from scratch, head to WooCommerce.com/start to get a site in place. Or, if you already have a self-hosted WordPress site or a WordPress.com site with a Business plan, go to the Plugins section of your dashboard to search for, add, and activate the WooCommerce plugin.
Let the WooCommerce Wizard be your guide
Every new WooCommerce installation starts with a setup wizard that walks you through all the basics of setting up your store. It asks questions about your location, industry, and products to provide recommendations specific to your needs. You’ll also have the opportunity to install extensions that provide additional functionality for things like marketing and unique types of products.

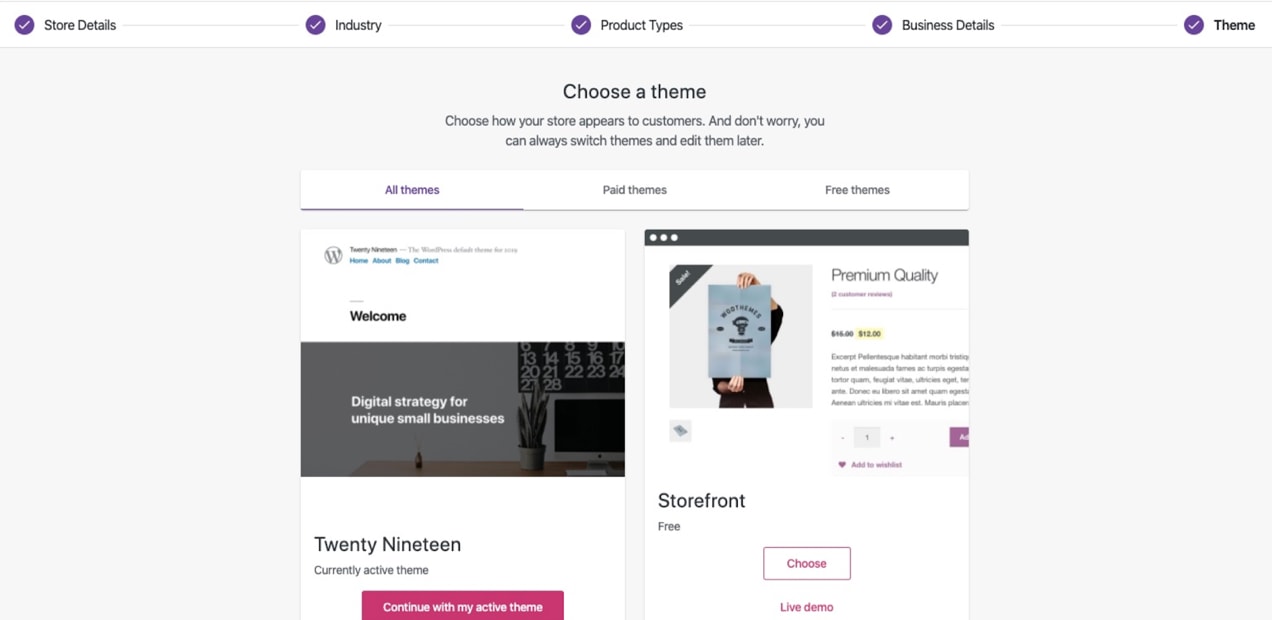
You’ll then be prompted to install a theme, which controls the design and layout of your site. If you already have a WordPress site and your theme is compatible with WooCommerce, there’s no need to worry about this step. But if you’re starting from scratch, select a theme that best fits the needs of your store and brand. The free Storefront theme is a great option — it’s simple and intuitive, but can be easily customized. For more information, check out our guide to choosing a WooCommerce theme. And don’t worry; you can always switch themes later!
Then, you can enable WooCommerce Shipping and WooCommerce Tax. While these free extensions are completely optional, they provide a ton of great benefits that simplify your life as a store owner. WooCommerce Shipping offers discounts on USPS and DHL shipping labels and the ability to print labels directly from your dashboard. WooCommerce Tax automatically calculates sales tax based on your location so you don’t have to worry about configuring rates.

Finally, you’ll see a store checklist that serves as a template for setting up the rest of your store. If you click an item on the list, you’ll be taken directly to the appropriate settings page. While you can skip these and come back to them later, let’s look at each one individually.

Add products
If you click on Add my products in the wizard, you’ll have the option to add products manually, import a spreadsheet, or migrate from another platform (like Shopify or BigCommerce).
If you choose to add a product manually, you’ll be taken to a blank product page. Or, you can go to Product → Add Product in the WooCommerce dashboard. There, you can add a product title, description, and photo along with information about pricing, shipping, and more.
If you’re already familiar with WordPress, you’ll notice that WooCommerce product pages are laid out a little differently than traditional pages and posts. For example, the main text box you see on a fresh new WordPress page is not where you’ll put your product description. That very important piece of writing goes in the “short product description” field further down the page.
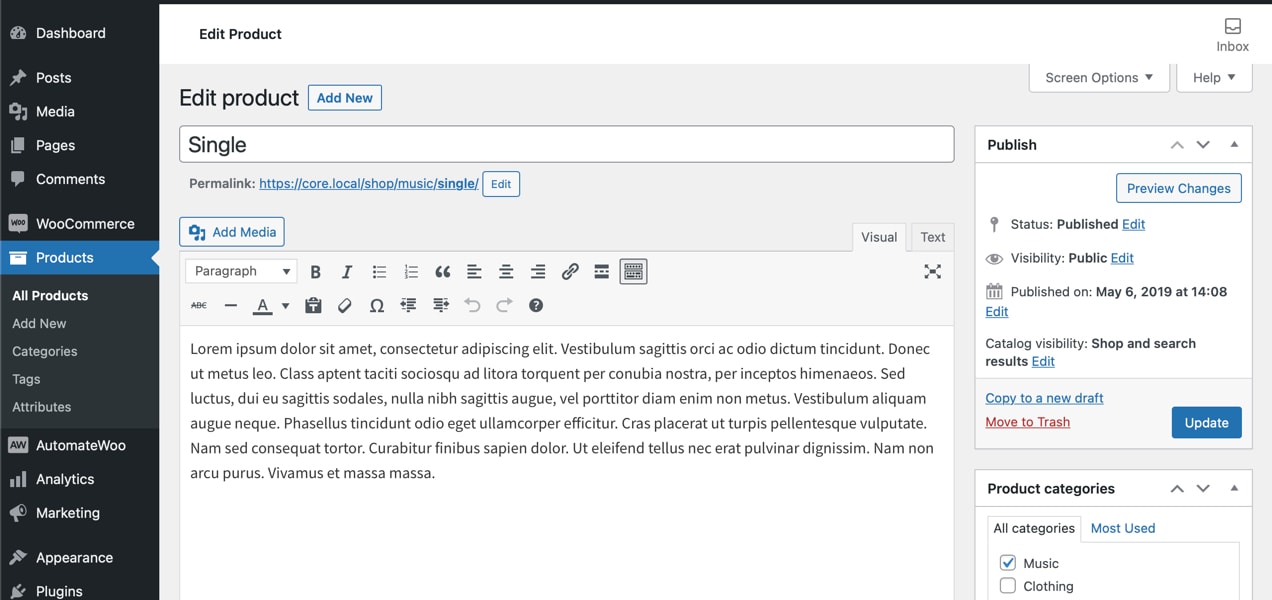
Instead, the large text block at the top is a great place for details about the product, like its construction, components, or country of origin — whatever secondary information you want to include that isn’t imperative to selling the item.
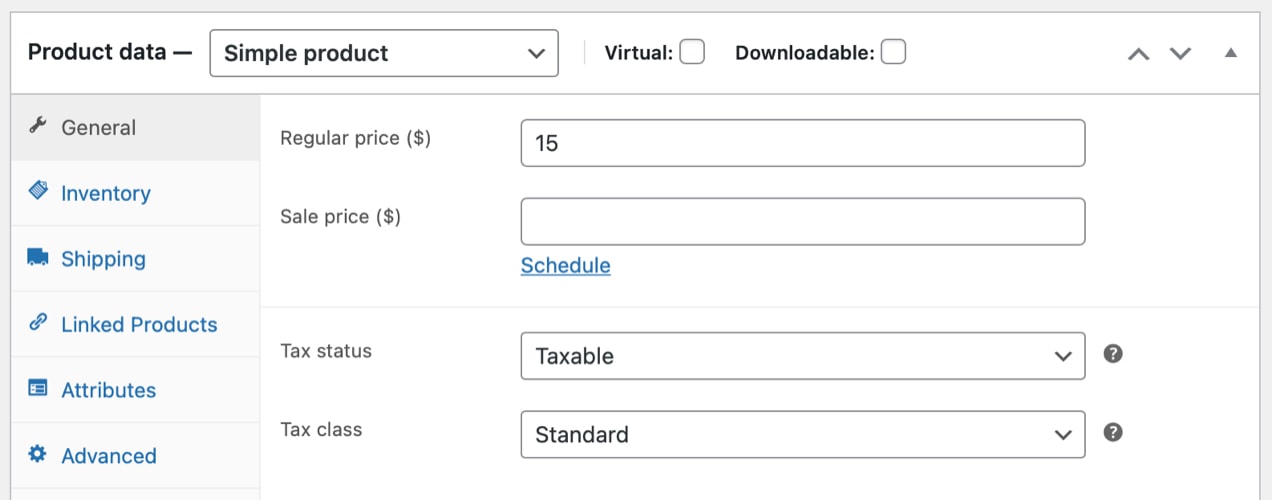
You’ll also need to set a product type. There are a variety of product types, but the most common are simple and variable. Simple products, like a book, don’t have options or choices. Variable products have options that customers can choose from, like a shirt with different sizes and colors.
For further instructions on adding products, check out our documentation.
Note: There are other product types with slightly different settings, like digital downloads, memberships, subscriptions, and bookings. Our complete documentation walks you through everything you need to know to set those up.
Set up payments
If you choose to set up payments through the wizard, you’ll be able to select a payment gateway on the same screen. Otherwise, go to WooCommerce → Settings → Payments. You can enable cash payments, check payments, or direct bank transfers. Or, to charge customers online, set up a payment gateway.
A payment gateway securely accepts your customers’ credit card information, validates it, then transfers the money to your bank account. There are a variety of options to choose from — common gateways include PayPal and Stripe.
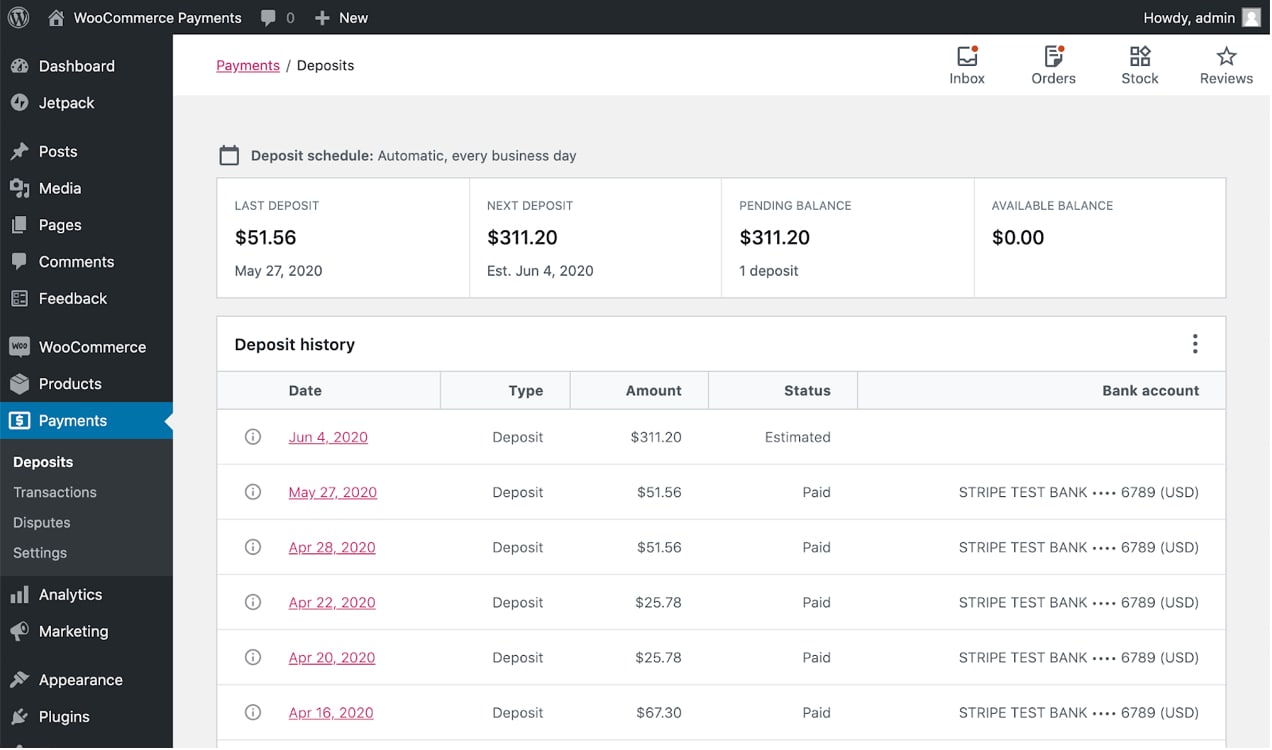
For a simple setup you can count on, install the free WooCommerce Payments extension. You can get started in a few clicks, keep customers on your site during checkout, accept Apple Pay, and manage everything from payments to refunds directly in the WooCommerce dashboard. Plus, you get extra benefits like instant deposits and payments in multiple currencies.
Read more about choosing the right payment gateway for your store.
Set up tax
To set up taxes for your store, click Set up tax in the wizard, or go to WooCommerce → Settings → Tax. You can choose to enter prices for products with or without tax, select the address you’d like to base tax calculations on, and set your tax rates, among other things.

You’ll need to do some research into tax rates based on where you’re located and the places you sell to and consider consulting a professional. Or, simply install WooCommerce Tax to take care of everything for you.
Read our full documentation on setting up taxes.
Personalize your store
If you click Personalize my store, you can quickly set up a homepage, upload a logo, and set up a store notice, which will display across all pages on your site. Don’t worry; you can always change these later.

Set up shipping
From the setup wizard, you can confirm your store location and set shipping costs for your country and the rest of the world. This takes care of basic shipping settings, but for more specific setups, navigate to WooCommerce → Settings → Shipping. There, you can set up shipping zones (areas where products are delivered) and options like free shipping.

For a quick, simple setup, easy label printing, and discounts on shipping rates, give WooCommerce Shipping a try. And if you need more complicated rules — like pricing based on weight or cart totals — install WooCommerce Table Rate Shipping.
Read our full shipping documentation for more information.
Beyond the wizard: design and functionality
Once you’ve wrapped up the steps in the setup wizard, your store essentials are ready to go. But, depending on your business and products, you may want to take care of a couple of other things.
Create additional pages
If you have an existing WordPress site, you probably have all of the important pages already created (e.g. a homepage, about page, contact page, etc.). But if your site is brand new, you’ll want to get those set up.
The theme you chose took care of a lot of the design work for you, which you can customize to fit your brand and store (see your theme documentation for details). You can also add visually-appealing content to any page with the drag-and-drop WordPress editor.
Add extensions
Extensions are similar to WordPress plugins, but are add-ons specifically for WooCommerce. Not every store will need extensions — WooCommerce provides all the basics out of the box — but you may want some for additional functionality.
We already discussed a few extensions for different product types (like memberships or subscriptions), shipping, payments, and taxes. But there are also great options for marketing, store management, and user experience. You can view all extensions in the WooCommerce Marketplace.
But, it is important not to get too carried away. You see, installing too many can slow down your site and clutter your dashboard. Instead, focus on ones that boost the user experience overall.
Not sure where to start? Take a look at WooCommerce Essentials — a handpicked collection of extensions designed to help new store owners launch their business. They’re grouped based on their purpose (growth, security, customization, etc.) and are fully vetted and trusted by the WooCommerce team.
Secure your store
Once you’ve set up your store, you don’t want to risk losing it! It just takes a few easy steps to secure everything, from content and order information to customer data.
For an easy, fast setup, consider purchasing Jetpack Security, which includes everything you need to secure your WooCommerce store from backups and malware scans to spam prevention. Or, take advantage of Jetpack’s free security tools, like brute force attack prevention and downtime monitoring.
Join the WooCommerce Community
A good community is invaluable and, though we’re (admittedly) biased, we think the WooCommerce Community is the best. It’s a great opportunity for you to learn from others’ experiences, share your own, and connect with stores that are encountering the same things as you. Plus, there are lots of great people who really want to help you succeed.
Ready to get started? Begin your WooCommerce journey today.

Brought to you by, imgforge, a Fresno Ecommerce Design Company
Fresno Ecommerce Design starts here!
Original Source 2021-08-26 11:00:00
Fresno Web Design, WooCommerce Development, WordPress Development